A kitchen transformation, from floor to ceiling.
Blue-grey cabinets and an illuminated panel ceiling gave way to white cabinetry, a veined backsplash, grey floor tiles and warm perimeter lighting. Follow the same kitchen through 13 photographs: the starting point, the work around the room and the completed result.
13 project photographs · Select any photo to enlarge it.
An update to the original cabinets, surfaces and ceiling.
The first photograph records the room before the renovation: blue-grey cabinet fronts, a tiled backsplash and the illuminated panel ceiling. The stainless-steel refrigerator at the back of the room helps connect this original view with the progress photographs and the finished kitchen.
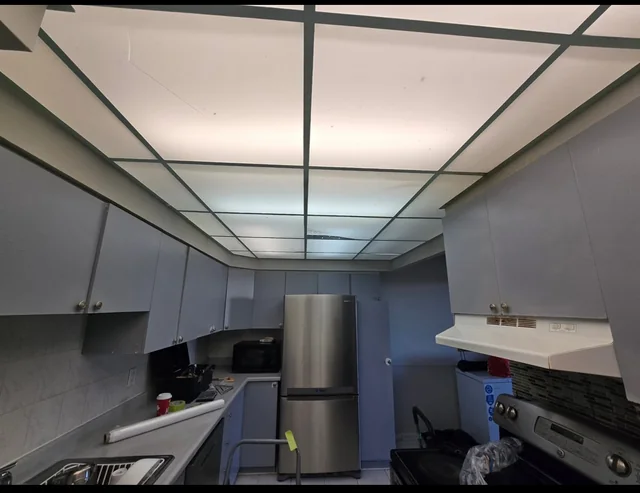
The original kitchen
The original kitchen, with its illuminated panel ceiling and blue-grey cabinets.
The whole room matters.
This project brings several parts of a kitchen renovation into one sequence. The difference is visible in the cabinet fronts, the counters and backsplash, the flooring and the ceiling. Showing the room before work began gives those finishing details a clear point of comparison.
For a similar project, start with photographs of the whole kitchen and the areas you want to change. Cabinet storage, work surfaces, flooring and lighting can then be discussed together when defining the scope.
The work behind the finished kitchen.
New ceiling boards and prepared joints came before the finished lighting. Open cabinets, protected appliances and work at the sink show the room during reconstruction, followed by flooring, cabinet finishing and clean-up.
Rebuild and prepare the ceiling
New ceiling boards are fixed in place and the joints are prepared around the lights. Appliances stay protected as the room changes around them.
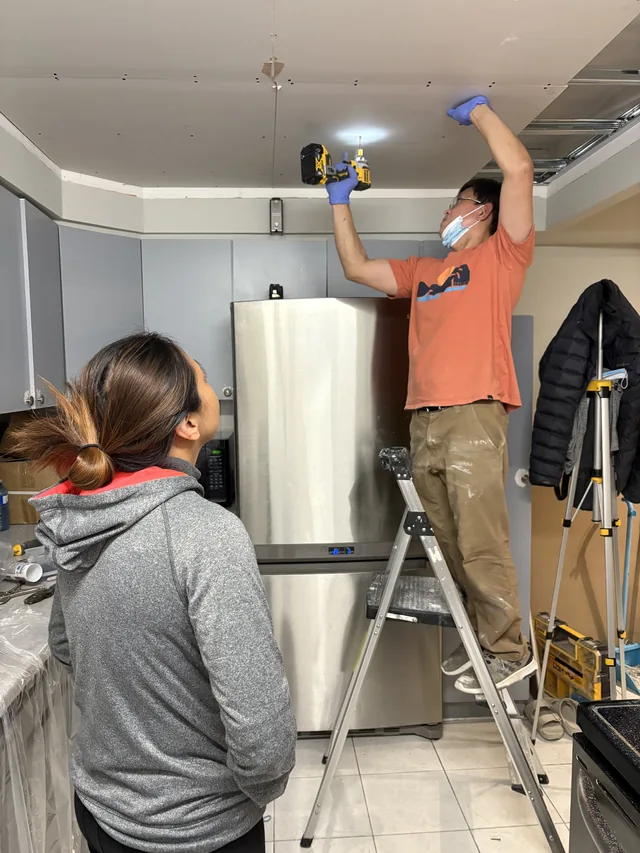
Fitting the new ceiling boards
Ceiling boards are fixed above the original cabinets while work continues around the room.
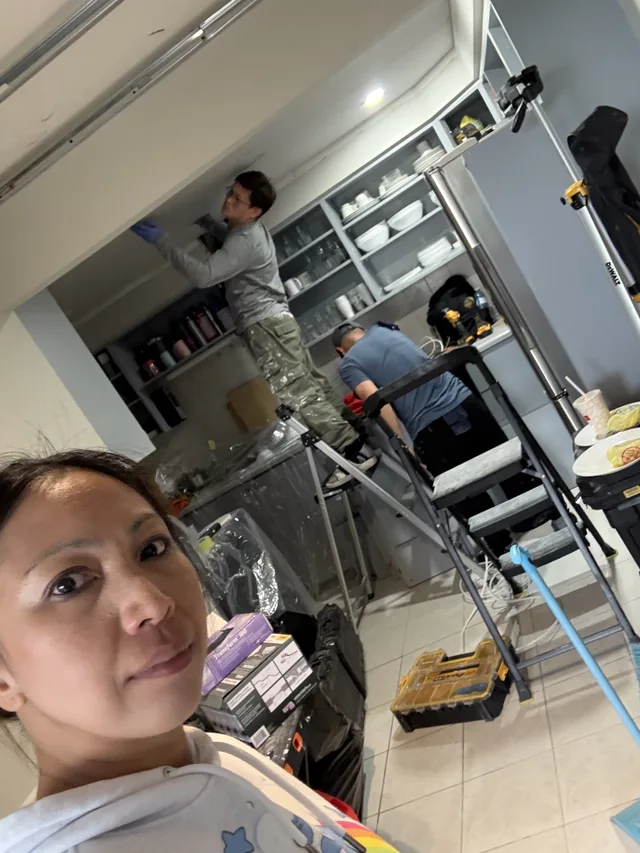
The team at work
A view from the doorway during ceiling work, with ladders, tools and open cabinets.
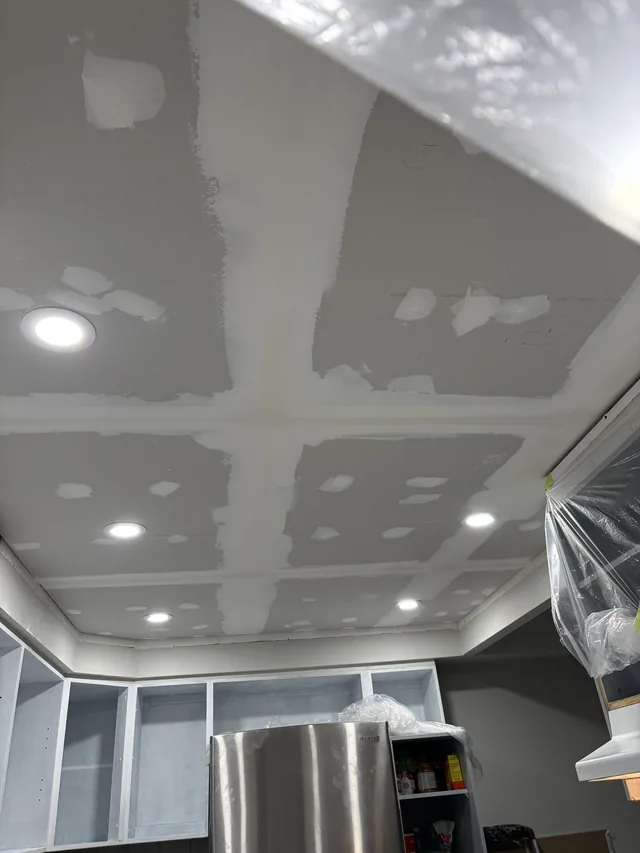
Preparing the ceiling joints
Joint compound covers the board seams and fixing points around the recessed lights.
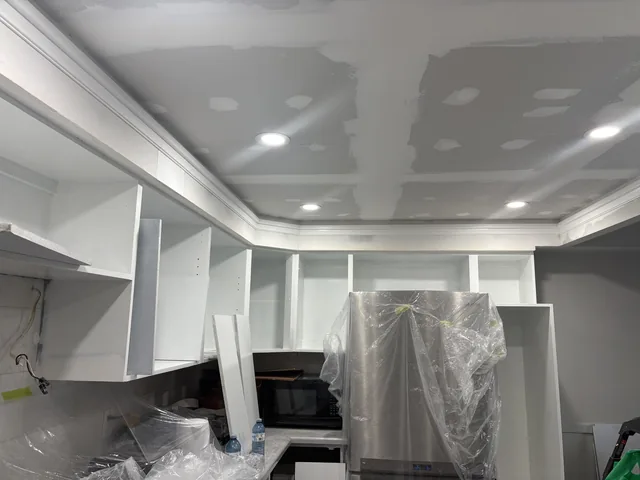
The room during reconstruction
Protected appliances and open cabinet interiors show the kitchen before the finishing work is complete.
Work through the room
The photographs move between the hood, cabinets and sink area, then show the smoother ceiling and new stainless-steel hood with work still underway.
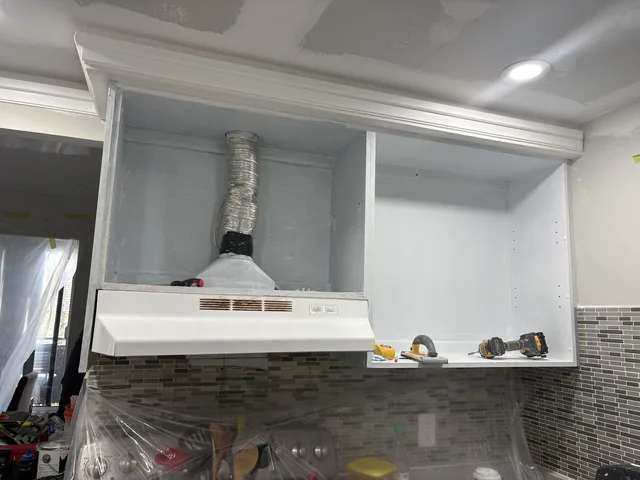
Working around the extractor hood
The cabinet above the original hood remains open, with the duct and ceiling joints visible.
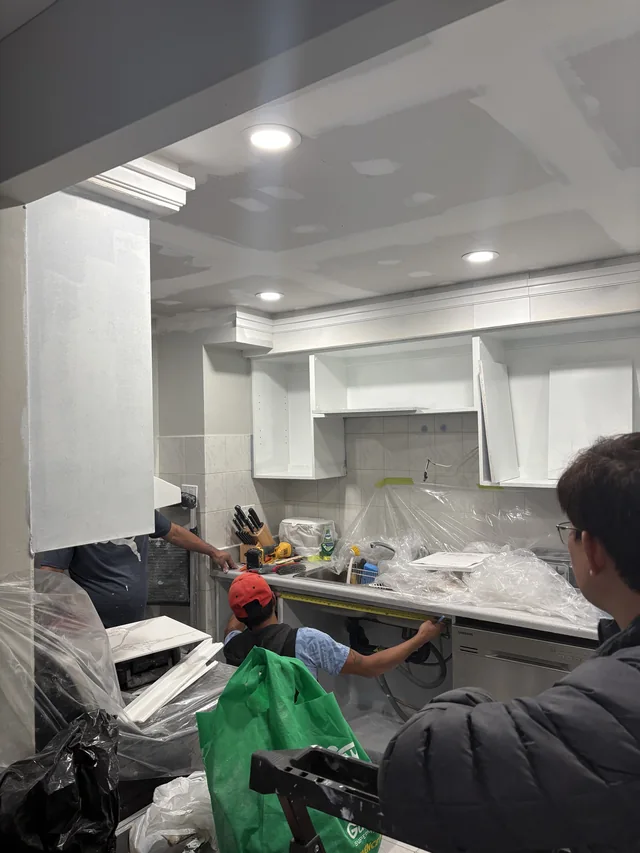
Work at the sink and counter
The team works around the sink and counter while the surrounding finishes are still in progress.
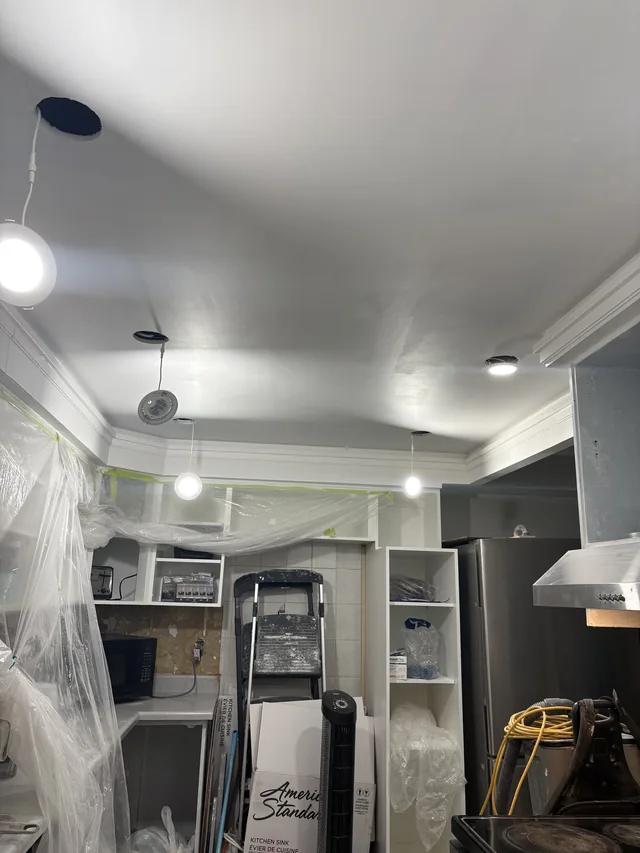
A smoother ceiling takes shape
The ceiling surface has been finished; temporary bulbs, ladders and protective sheeting remain in place.
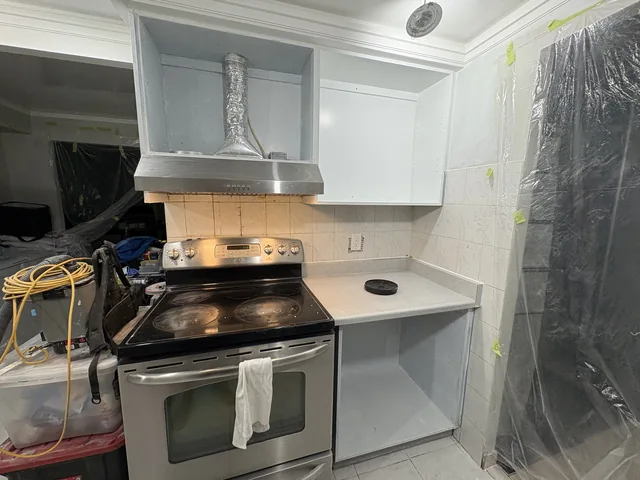
The new hood in place
The stainless-steel hood is in place while the cabinet fronts and surrounding details are still being completed.
Bring the finishes together
Floor tiles, cabinet fronts, counters and backsplash come together before the final clean-up.
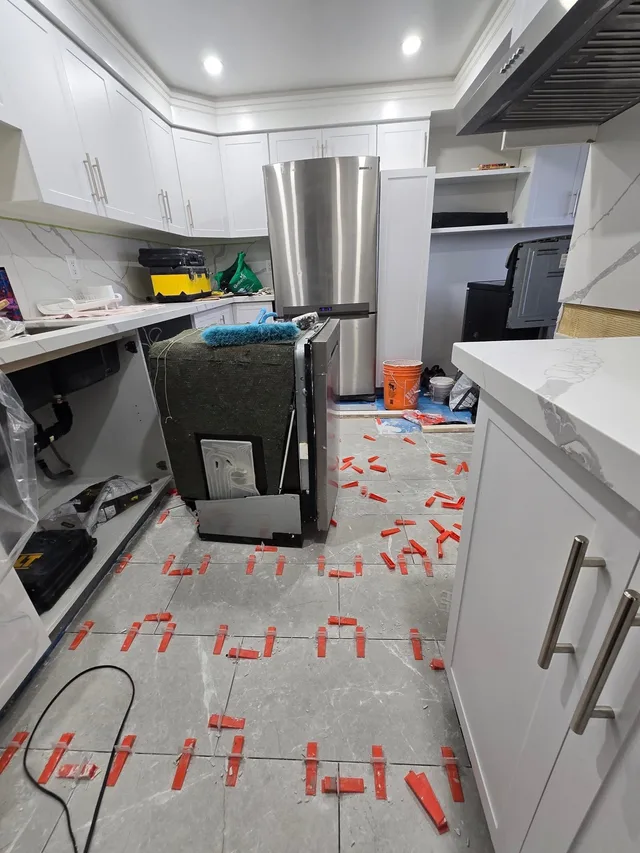
Laying the floor tiles
Red leveling clips hold the floor tiles while appliances and tools remain in the work area.
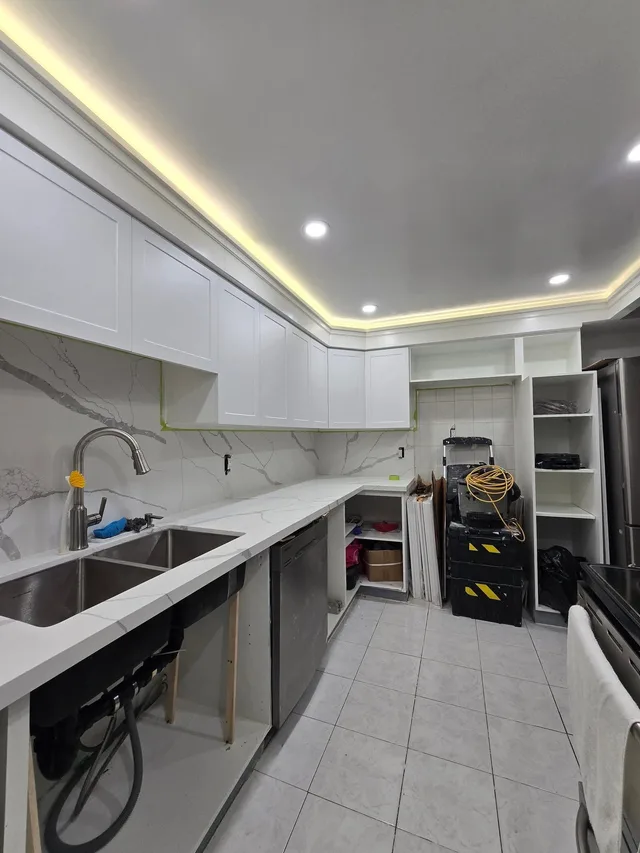
Fitting out the kitchen
Cabinets, counters and the ceiling lighting take shape while lower cabinet openings and tools remain visible.
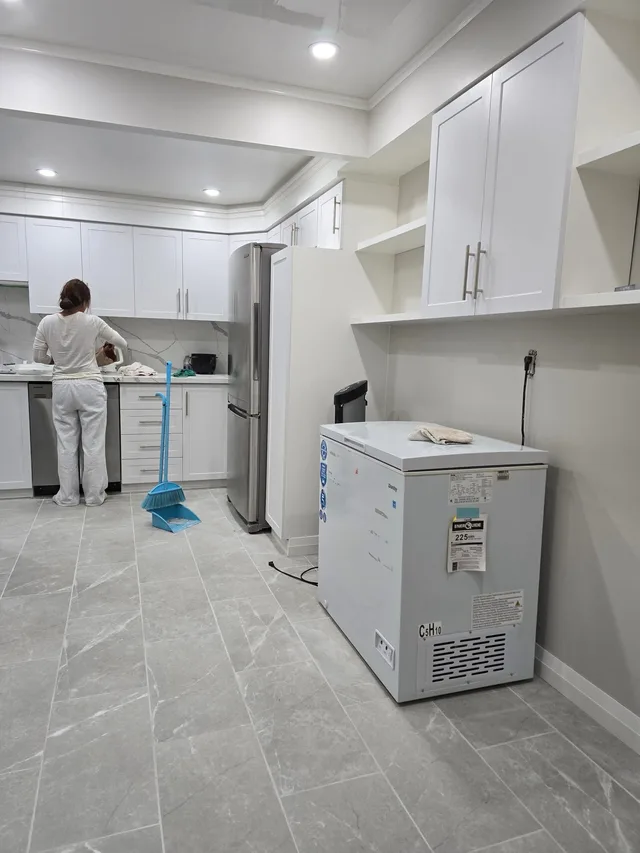
Finishing and clean-up
Finishing and clean-up underway, with the new floor and cabinetry in place.
White cabinetry and a finished lighting scheme.
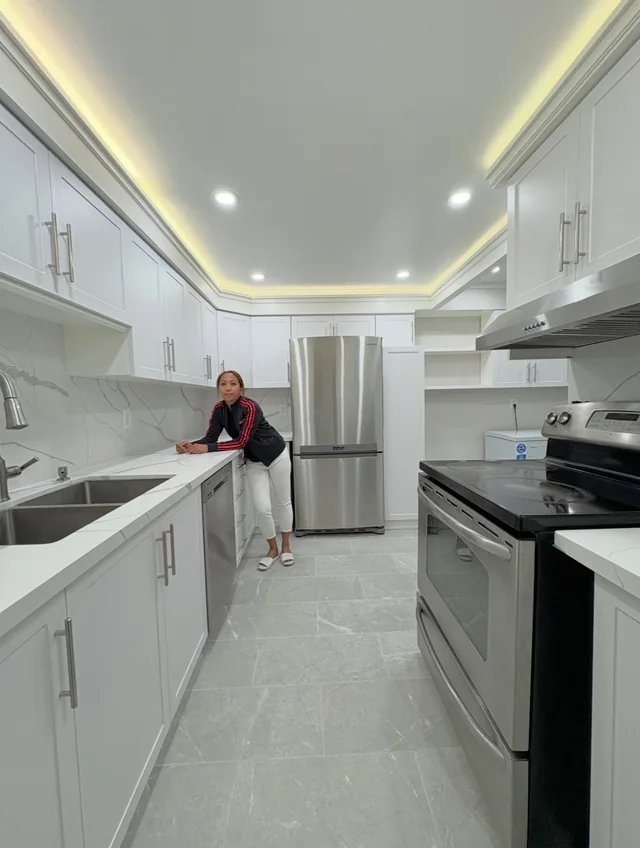
The completed-room photograph shows the kitchen from the entrance, with Rachelle beside the counter. White cabinet doors, a veined backsplash, grey tiled flooring and the finished ceiling now form one consistent room.
The completed kitchen
The completed kitchen brings together white cabinetry, a veined backsplash, tiled flooring and ceiling lighting.
From panel ceiling to perimeter lighting.
The original ceiling grid has given way to a smooth ceiling with recessed lights and a warm band of light around its perimeter. Below it, the kitchen includes white cabinetry with metal handles, open shelving, a double sink and stainless-steel appliances.
The original and completed views bookend eleven progress photographs, showing the practical work behind the change in the room.
Planning your kitchen renovation?
Raras Renovations works with homeowners in North York and across the Greater Toronto Area. Share the kitchen’s current condition, the changes you have in mind and your priorities for the space. Include your location, approximate dimensions and timing so the team can discuss an assessment and prepare a scope for your project.
What this project shows.
One original-room photograph, eleven views of reconstruction and finishing, and one completed kitchen. The sequence covers ceiling boards and joint preparation, work around the cabinets and hood, floor tiling, and the final surfaces and lighting.
Discuss your kitchen renovation